Database Fundamentals: Modifying Tables
Change is inevitable, especially when it comes to building and maintaining databases. Luckily, SQL Server takes that into account.
Invariably, either while building a new database or while maintaining old ones, you will find that the business needs a change or that you’ve made a mistake. Either way, you will need to modify the tables that you’ve created. Change is inevitable, and luckily, SQL Server takes that into account, providing you with mechanisms to modify structures after you’ve created them.
Important Warning
One of the fundamental concepts of databases is that the data is stored. You can’t simply throw data away when you need to make a change to a table. There are two levels of changes you can make to a table. The first is a change that won’t affect the data in the table. These are simple changes and we’ll cover them in this blog post. The second level of change is a change that can affect data in the table. This is a much more complicated change requiring multiple steps to protect the data in the table. This will be covered in later blog posts after you’ve learned more about how to work with data and structures.
Using the GUI to Modify a Table
To modify a table through the GUI, you’ll need to navigate to the table and open the Table Designer window by right-clicking on the table and choosing the appropriate menu choice. When you open this window, you should note that the cursor is in a new, blank column, waiting for you to start typing. See the focus here:
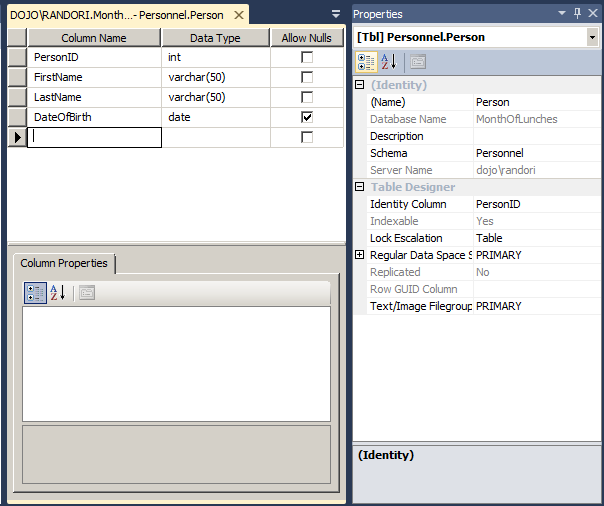
To add the new column, just supply a column name and pick the data type. After you have typed the name, the Allow Nulls box will be automatically selected, making this column allow NULL values. Leave that as is. Requiring data in a new column also requires you to create default data. That will be covered in another blog post. Saving the table will add the new column you just defined to it.
Read more about this here.
Recent Comments